Via TeacherGaming's desk I finally had a chance to test the FazGame which is a tool where students make their own games. I quickly realized FazGame can be used to learn code thinking, or the very basics of programming.
FazGame & Code thinking
How to use FazGame in order to learn code basics, FazGame is our tool to explain code thinking and our Sandbox.
First, we have the Java code.

Key question: What is ’x’?
Step 1 - Pseudocode
Now we have to write our pseudocode (pronounced SOO-doh-kohd). That is a detailed yet readable description of what a computer program or algorithm must do, expressed in a formally styled natural language rather than in a programming language. Pseudocode is sometimes used as a detailed step in the process of developing a program.

Step 2 - Flowchart
A flowchart is a formalized graphic representation of a logic sequence, work or manufacturing process, organization chart, or similar formalized structure. The purpose of a flow chart is to provide people with a common language or reference point when dealing with a project or process.
Flowcharts use simple geometric symbols and arrows to define relationships.
In programming, for instance, the beginning or end of a program is represented by an oval. A process is represented by a rectangle, a decision is represented by a diamond and an I/O process is represented by a parallelogram. The Internet is represented by a cloud.

Step 3 - FazGame, the fun begins!
With both pseudocode and flowchart ready we jump into FazGame. Now we have to be a bit creative and start with our game / scenario. We have our (female) hero and we have the alien quest giver. According to our plan we should have a message box, then a question and after that two different answers to choose from. We press the button “actions editions”.

Now this is what my dashboard looks like and when I add something from the menu I add the "same objects" as in my flowchart.

Now I add DIALOGUE + QUESTION + OPTIONS + ANSWER + REWARD


Step 4 - my "code"
The result is reminiscent of my flow chart, right? This is my "code".
The result is reminiscent of my flow chart, right? This is my "code".

Step 5 - Run the "code"
Now when I have my "code" ready, I will test run it and will discover if I have something to debug!
Now when I have my "code" ready, I will test run it and will discover if I have something to debug!

Step 6 - Debug the "code"
Nope, it didn't worked as expected! I get no dialogues.
I have to re-make my code and see what I miss.
Ah! I was missing a message (information) box!
Nope, it didn't worked as expected! I get no dialogues.
I have to re-make my code and see what I miss.
Ah! I was missing a message (information) box!

Step 7 - Running the code
Now I try to run my "code" (game) once more!
Now I try to run my "code" (game) once more!

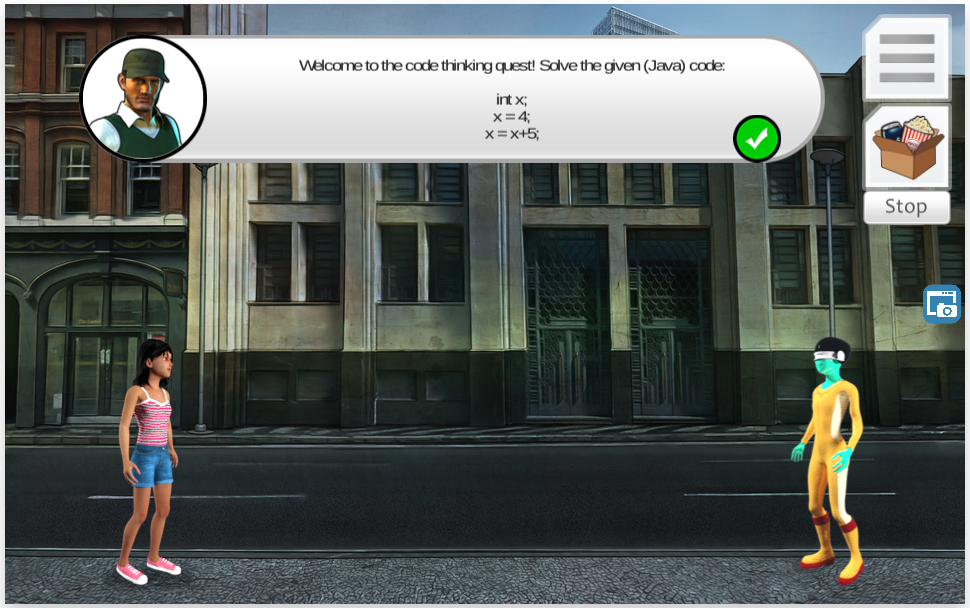


SUCCESS!!!
Inga kommentarer:
Skicka en kommentar